


Ute Valley Builders offers
flexibility on every job. We can do
a turnkey home - including design
and drafting of plans, or assist
with only specific aspects of a
project. Our current construction
project is a rebuild for Jerry and
Kathi Peterson.
flexibility on every job. We can do
a turnkey home - including design
and drafting of plans, or assist
with only specific aspects of a
project. Our current construction
project is a rebuild for Jerry and
Kathi Peterson.
Our Work in Progress
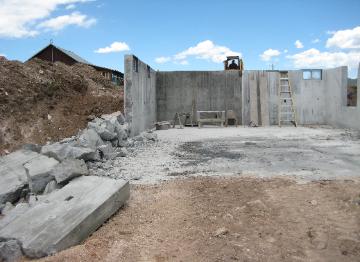

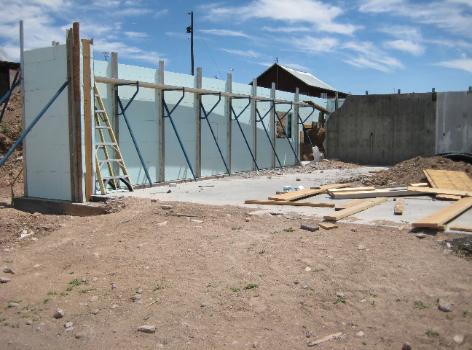
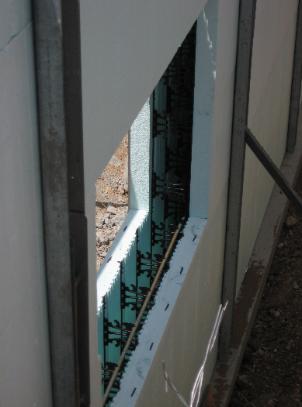
| We used Insulated Concrete Forms for the new basement walls. Here you can see the bracing used to support the forms while the concrete is poured, and to the right, you can see some of the steel rebar placed inside the forms. Once the forms are set and rebar complete the new walls. |
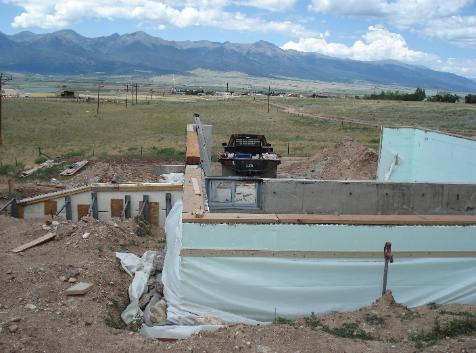
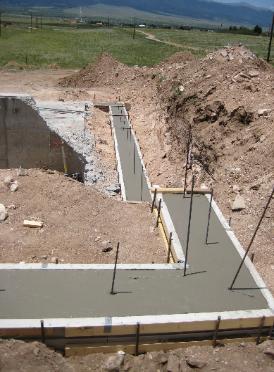
| Jerry and Kathi wanted to enlarge the original size of their home. So some of the basement walls needed to be removed, and a new footing poured. |
| Here you can see the bracing used to support the forms while the concrete is poured, and in the window opening pictured here to the right, you can see some of the steel rebar placed inside the forms. Once the forms are set and rebar tied in place, the window and door openings are blocked out and the bracing is secured, and then the concrete can be poured to complete the new walls. |
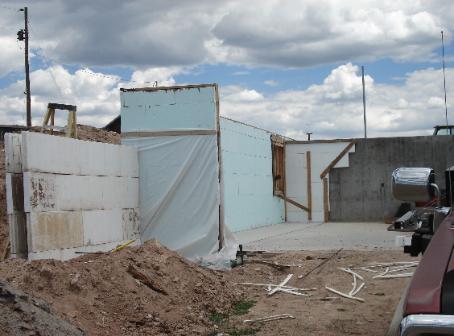
| While the concrete is curing, the walls are topped with plates which are used for the floor of the upper level. Enclosing the concrete walls this way slows the curing process and increases the strength of the concrete. At this point, a water barrier and french drain are added. Because of a drop in the landscape around Jerry and Kathi's house, a retaining wall has been added to this south wall (left) and to the north west corner (below). |
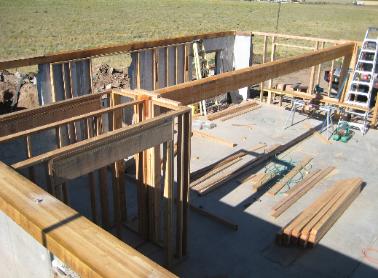
| Next comes framing the interior walls of the basement and setting the support structure for the floor above. |

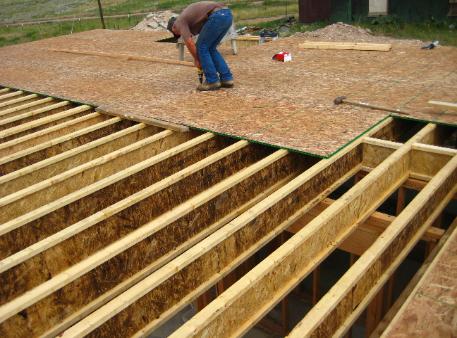
| I-Joists and OSB make up the structure of the floor. |
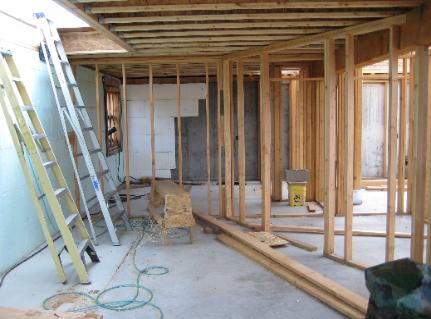
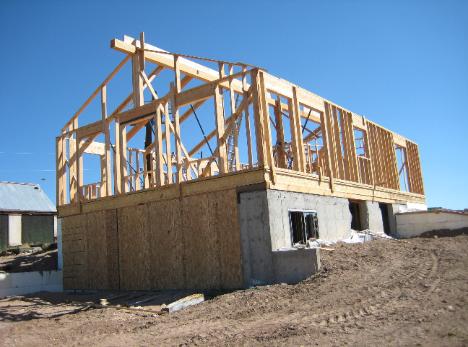
| And the framing of the main level begins. |
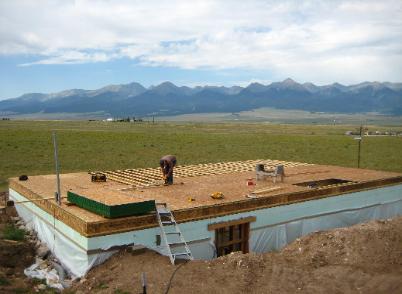
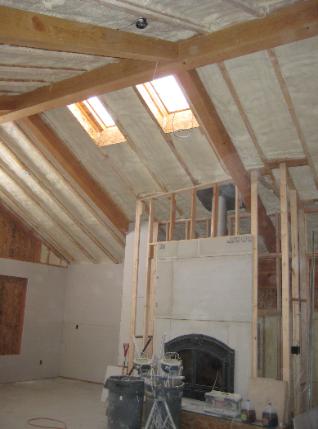
| With the walls framed, and the ridge beam set, the I-joists and accent beams can now be set for the roof structure. |
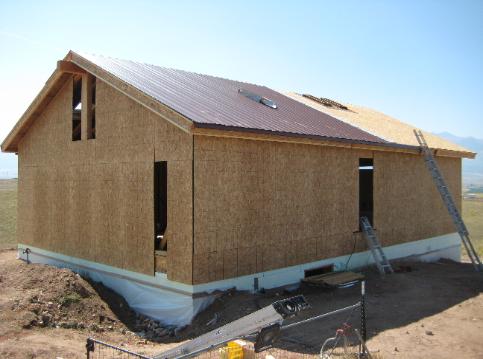
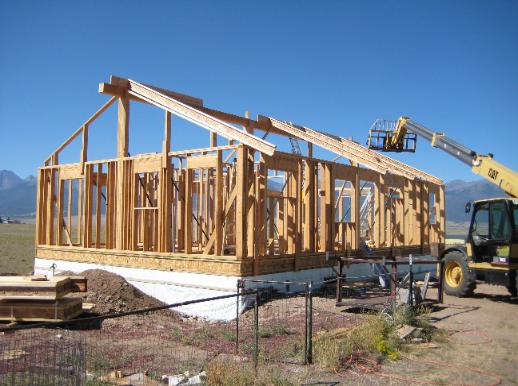
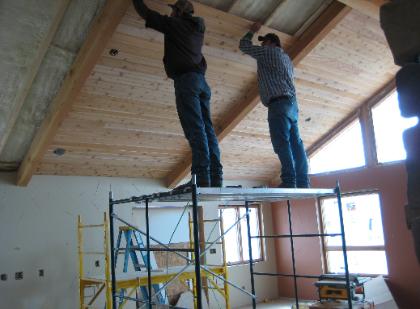
| Once the framing is complete, and the OSB sheeting on, the metal roof and framing for the skylights can be put in place. |
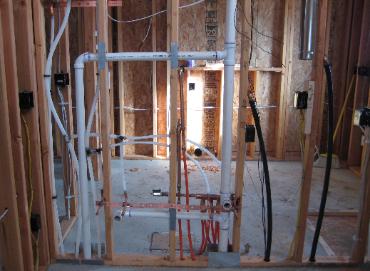
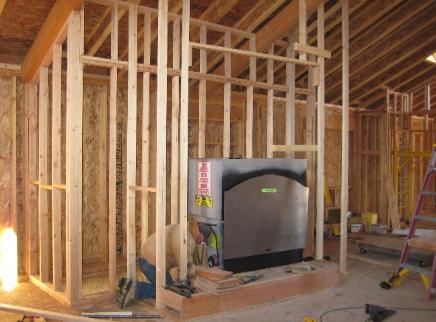

| Then work begins inside, to frame the interior walls, pour the upstairs floor, and run the electrical wiring and plumbing. |
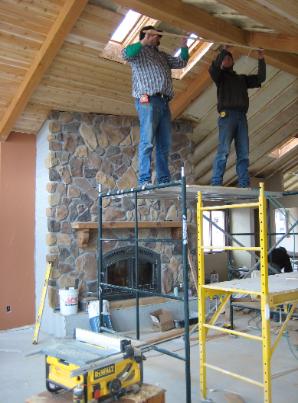
| Above, Jim is installing the fireplace, and on the left is an example of the spray-in foam insulation that completes the envelope. Then the drywall can be put up and the walls readied for paint. Concrete board is used around the fireplace and will later be finished with cultured stone. |
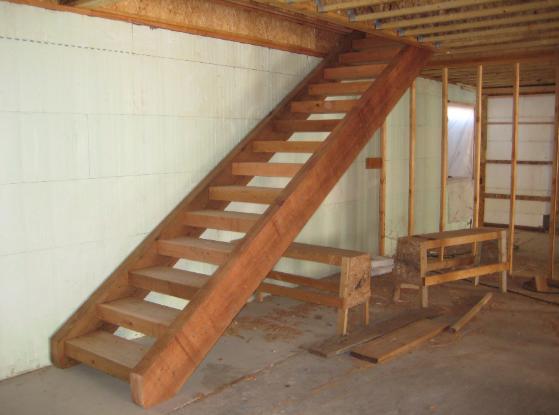
| Stairs are such an important part of a home. Jim builds these stairs by letting the treads into the stringers so that each piece is locked into place for incredible strength and stability. Not to mention how beautiful they are! |
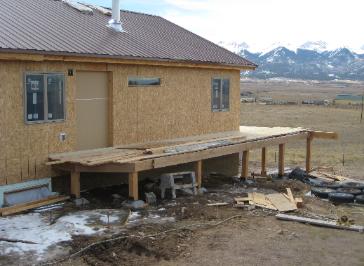
| Instead of using the round, cardboard "sauna tubes" to form the deck piers, Jim builds forms to pour piers like this one below, and ties the posts to it with steel plates. |
| |||||||||
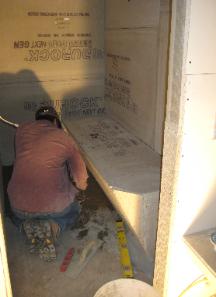
| Josh Moulton, of Flooring Masters, is working on the steam room, and tile will go in next. |
| And inside, the walls are textured and painted, the tongue and groove cedar ceilings going in, and the fireplace almost completed. |
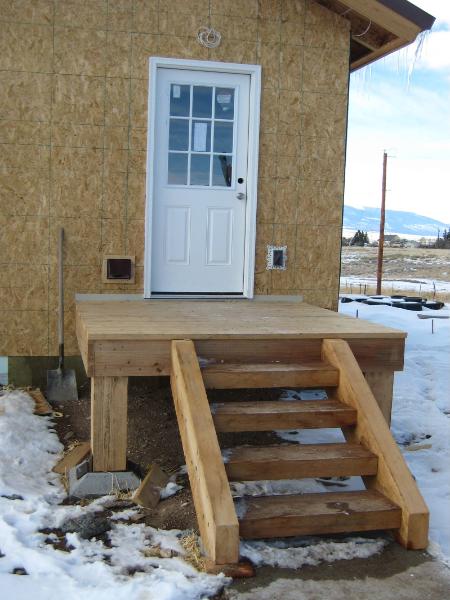
| With the floor of the deck going in, it makes it easier to install the windows. |
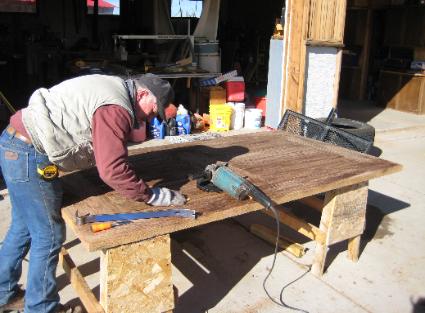
| Jim loves to put his woodworking skills to use with custom entry doors like this one for Jerry and Kathi. Using traditional, quality craftsmanship of mortise and tendon construction, these doors are truly works of art. |